
hi, Hasani here today I will show you how to make a transition using UIKit.
Step 1: First, you need to get UIKit on your text editor do that by using, this code
<link rel=”stylesheet” href=”https://cdn.jsdelivr.net/npm/uikit@3.6.18/dist/css/uikit.min.css”/>
https://kit.fontawesome.com/b821db85cf.js
https://cdn.jsdelivr.net/npm/uikit@3.6.18/dist/js/uikit.min.js
https://cdn.jsdelivr.net/npm/uikit@3.6.18/dist/js/uikit-icons.min.js
Step 2: Next, you need to set up your container let, say something like this
<– the Uk-child is targeting everything under the section
and the Uk-grid is to give all the sections Css grid –>
<section class=”uk-child-width-1-2 uk-child-width-1-3@s uk-grid-match uk-grid-small” uk-grid>
<section class=”uk-text-center”>
<section class=”uk-inline-clip uk-transition-toggle” tabindex=”0″>
<img src=”Your img here” alt=””>
<– here is where the transition is happening I have it fading but
you can put to see them go here https://getuikit.com/docs/transition–>
<section class=”uk-transition-fade uk-position-cover uk-position-small uk-overlay uk-overlay-default uk-flex uk-flex-center uk-flex-middle”>
<p class=”uk-h4 uk-margin-remove”>Fade</p>
</section>
</section>
</section>
</section>
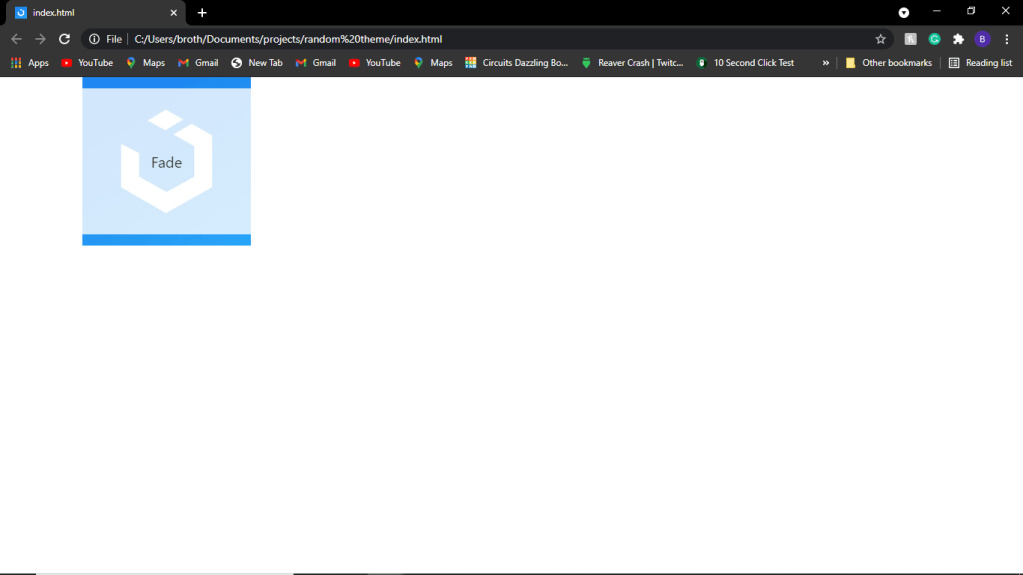
and thats it here is the transition in action
Thanks for reading if you like our blog, check out our youtube channel at https://www.youtube.com/channel/UCJmvf2Gv1SYE1jCf4_r9L6w
and check out Thehomeschooldev at https://www.youtube.com/channel/UCfocQtlJs-Mreuc0EAJQ-zg
Reference Cited: https://en.wikipedia.org/wiki/Application_Kithttps://en.wikipedia.org/wiki/Application_Kit
and bye
